Inset Style Panelling
A custom look without the price
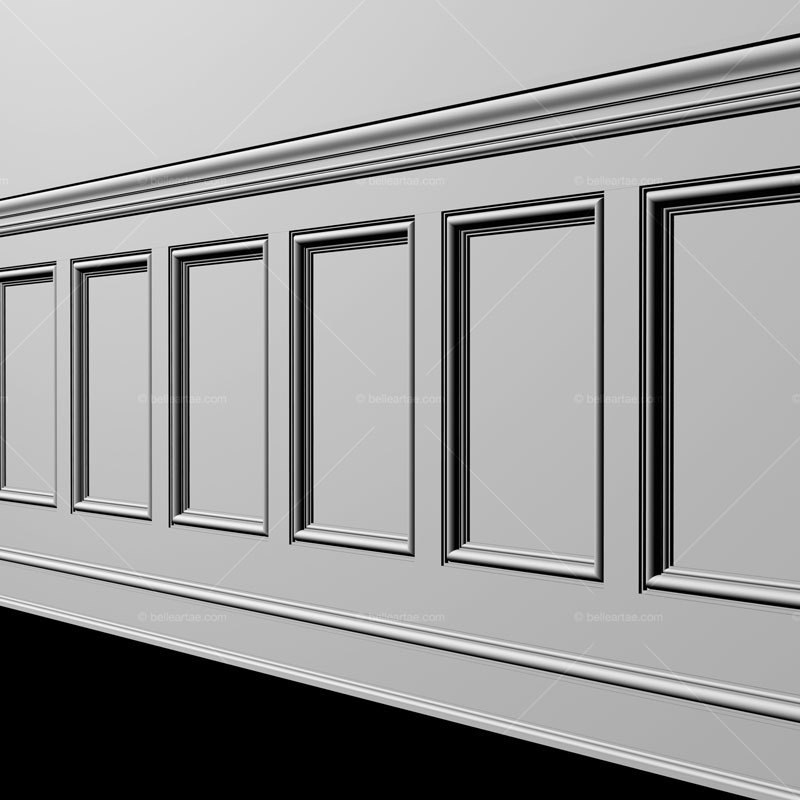
The image at right shows a cost-effective alternative to raised panelling, it's known as inset panelling. It is easily installed by a qualified trim carpenter, and involves nailing 3/4" thick flat stock on the wall to create the panel openings, and then mitering panel moulding around the inside perimeter of each opening.
There are a few tricks to laying out the panels so they look right, and permit easy installation. First, you must have something to nail the vertical parts to. Either install blocking as needed behind the sheetrock, or use 1/2" or 5/8" thick plywood or MDF instead of sheetrock for that section of wall - be sure to consult your building inspector for approval first. The bottom rail is typically wider than the top rail, and you may or may not choose to use baseboard with this panelling. If baseboard is used, then the bottom rail width can be narrowed, though it should remain wider than the stiles and top rail. Without baseboard, the bottom rail should be wide enough to appear as a baseboard.
For inside corners, one stile - the one that is overlapped - should be 3/4" wider than the other. This makes the stiles appear even in width when complete. Similarly for outside corners, the stile that is overlapped should be 3/4" narrower than the other. For example, say your standard stile width is 3", one inside corner stile will be 3-3/4" wide, but the other will be 3", the outside corner stiles will be 3" and 2-1/4".
While taste may determine what size and orientation the panels will have, remember that orientation can affect perception. Even with chairrail height wainscot panelling, vertically oriented panels gives the illusion of a higher ceiling, while horizontally oriented panels lower the ceiling.
The mouldings shown in the image are AB212 base, AB027 shoe, AB010 panel moulding, and AB310 chair rail.
Product Example
Gallery Preview
- White pair doors

Paint grade poplar and MDF pair doors with cathedral arch top panels.


Testimonials
This is probably the most well-deserved review I have ever left. I live in Southern California...
Read more